
Overview
This guide explains how to activate and pair sensors in Delsys Software. It also clarifies the difference between Pairing and Scanning, so you know when to use each process.
Pairing is a one-time setup that registers a sensor to the Receiver, while scanning is the routine process that detects sensors that have already been paired. Once paired, a sensor remains paired until you reset or remove it.
System Requirements
Requirement | Details |
|---|---|
Operating System | Windows 11+ |
Hardware | Avanti-Style Sensors Charge Station |
Software | All versions of Trigno Discover |
Sensor LED Color | Meaning |
|---|---|
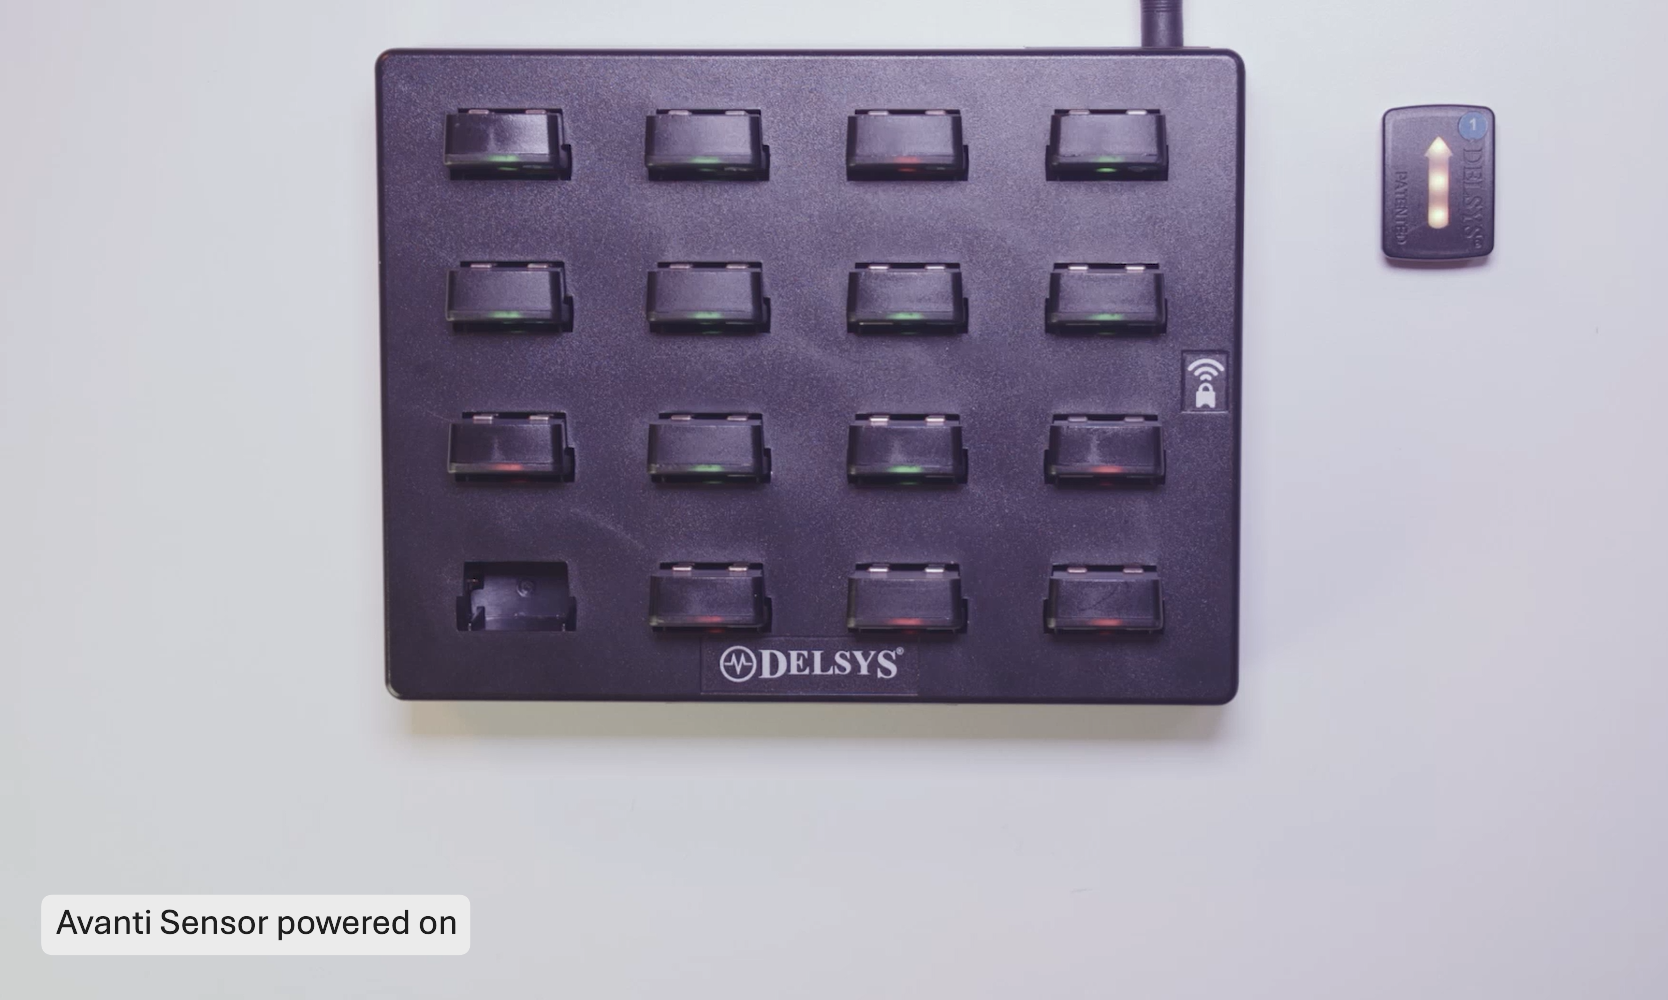
White | Your sensor is powered on. You have 6 seconds to pass the sensor through a magnetic field to activate it. |
Orange/Cyan | Your sensor is waiting to be paired to a Receiver. |
Orange/Green | Your sensor is paired to your Receiver and waiting to start data collection. |
Red | An error has occurred during the pairing process. Dock the sensor in the charging station and try again. |
Step-by-Step Instructions
Step 1: Activating a Sensor
Before pairing, sensors must be activated.
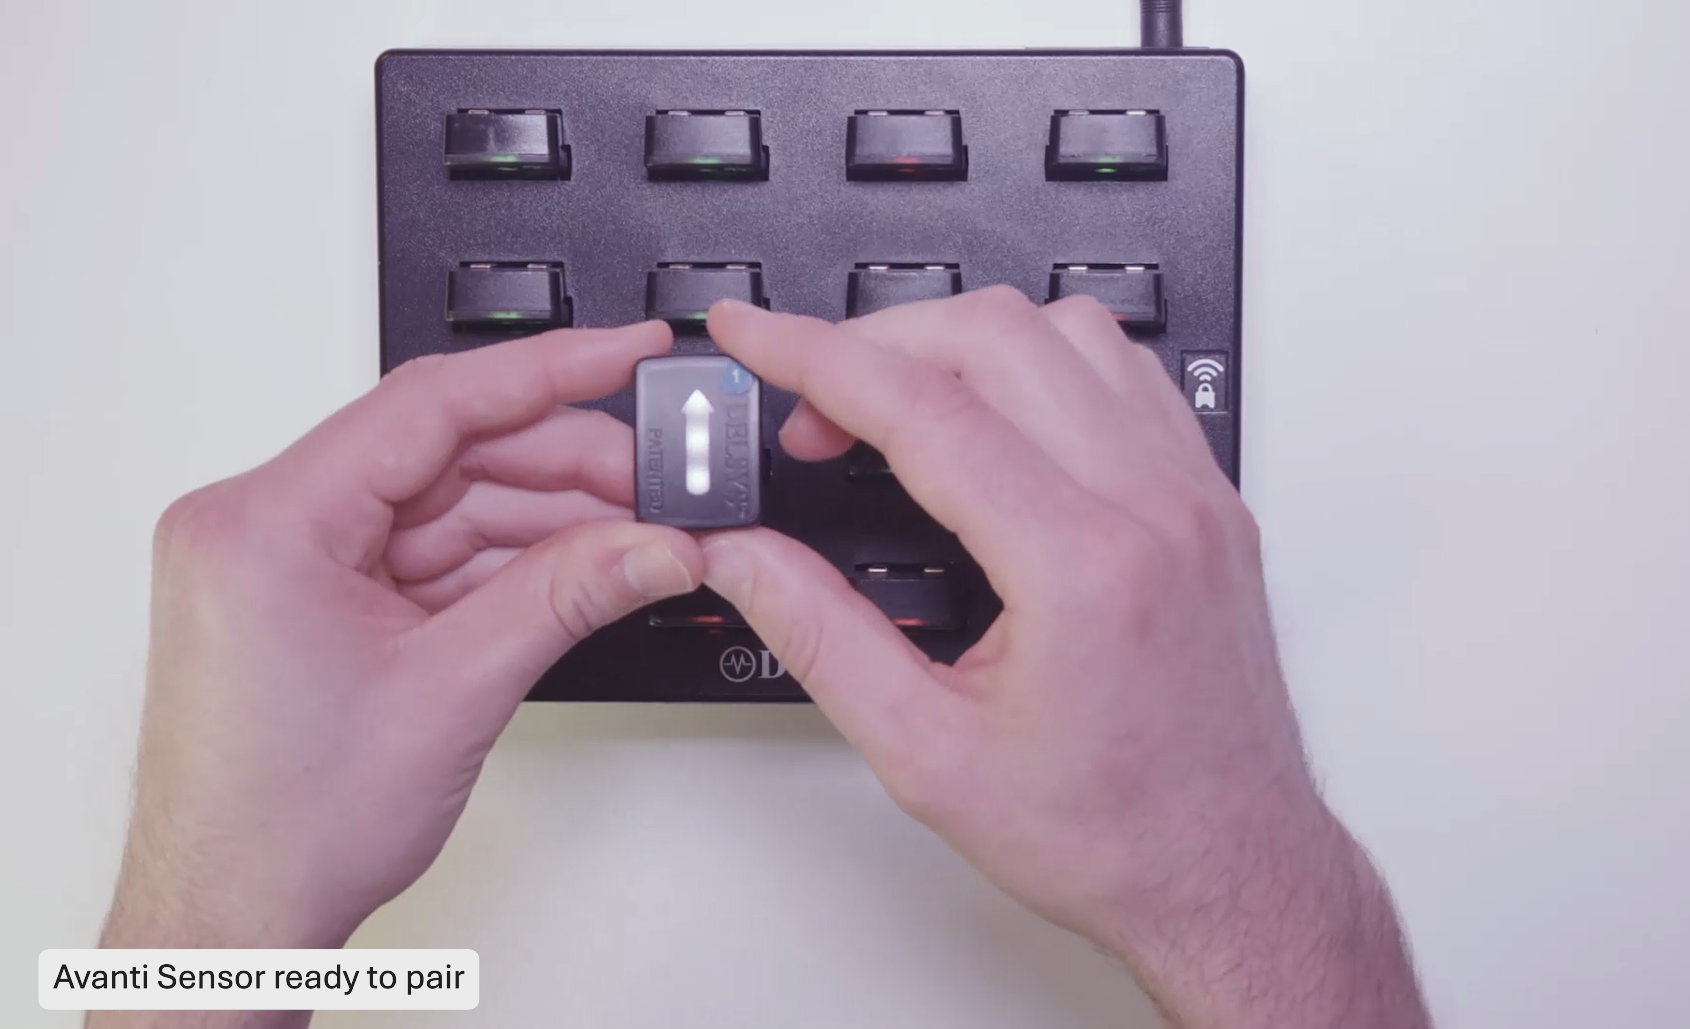
Remove the sensor from the charging station. The LED on the sensor will go white.
Pass the sensor through a magnetic field by tapping it against the magnet. This must be done when the sensor is in the white LED state. If the sensor LED turns off, Re-dock the sensor and start the process again.
Important
When the sensor is removed from the charging station, the LED will illuminate white. You have 6s to pass the sensor through a magnet before it will turn off.
Observe the LED indicator:
Orange and cyan indicate that the sensor is looking for a Receiver
Orange and green indicate that the sensor has found a Receiver
The LED colors confirm that the sensor is activated and searching for a connection.
Information
Avanti-Style Sensors use a hall effect sensor to detect the change in magnetic field. If the sensor is left too close to the magnet, it can cause an activation error. Be sure to pull the sensor away from the magnet after the LED state changes to orange/blue.
Step 2: Pairing
Important
This section of the article refers to Trigno Discover version 2.0.1 and higher. Please note that the user interface may vary depending on the version you have installed. You can find your current version of Trigno Discover in the top left corner of the application window.
Steps for pairing may vary slightly depending on the Delsys software being used.
After the sensor has been activated, and flashing orange and cyan, you can pair it to Delsys software.
Open your Delsys software
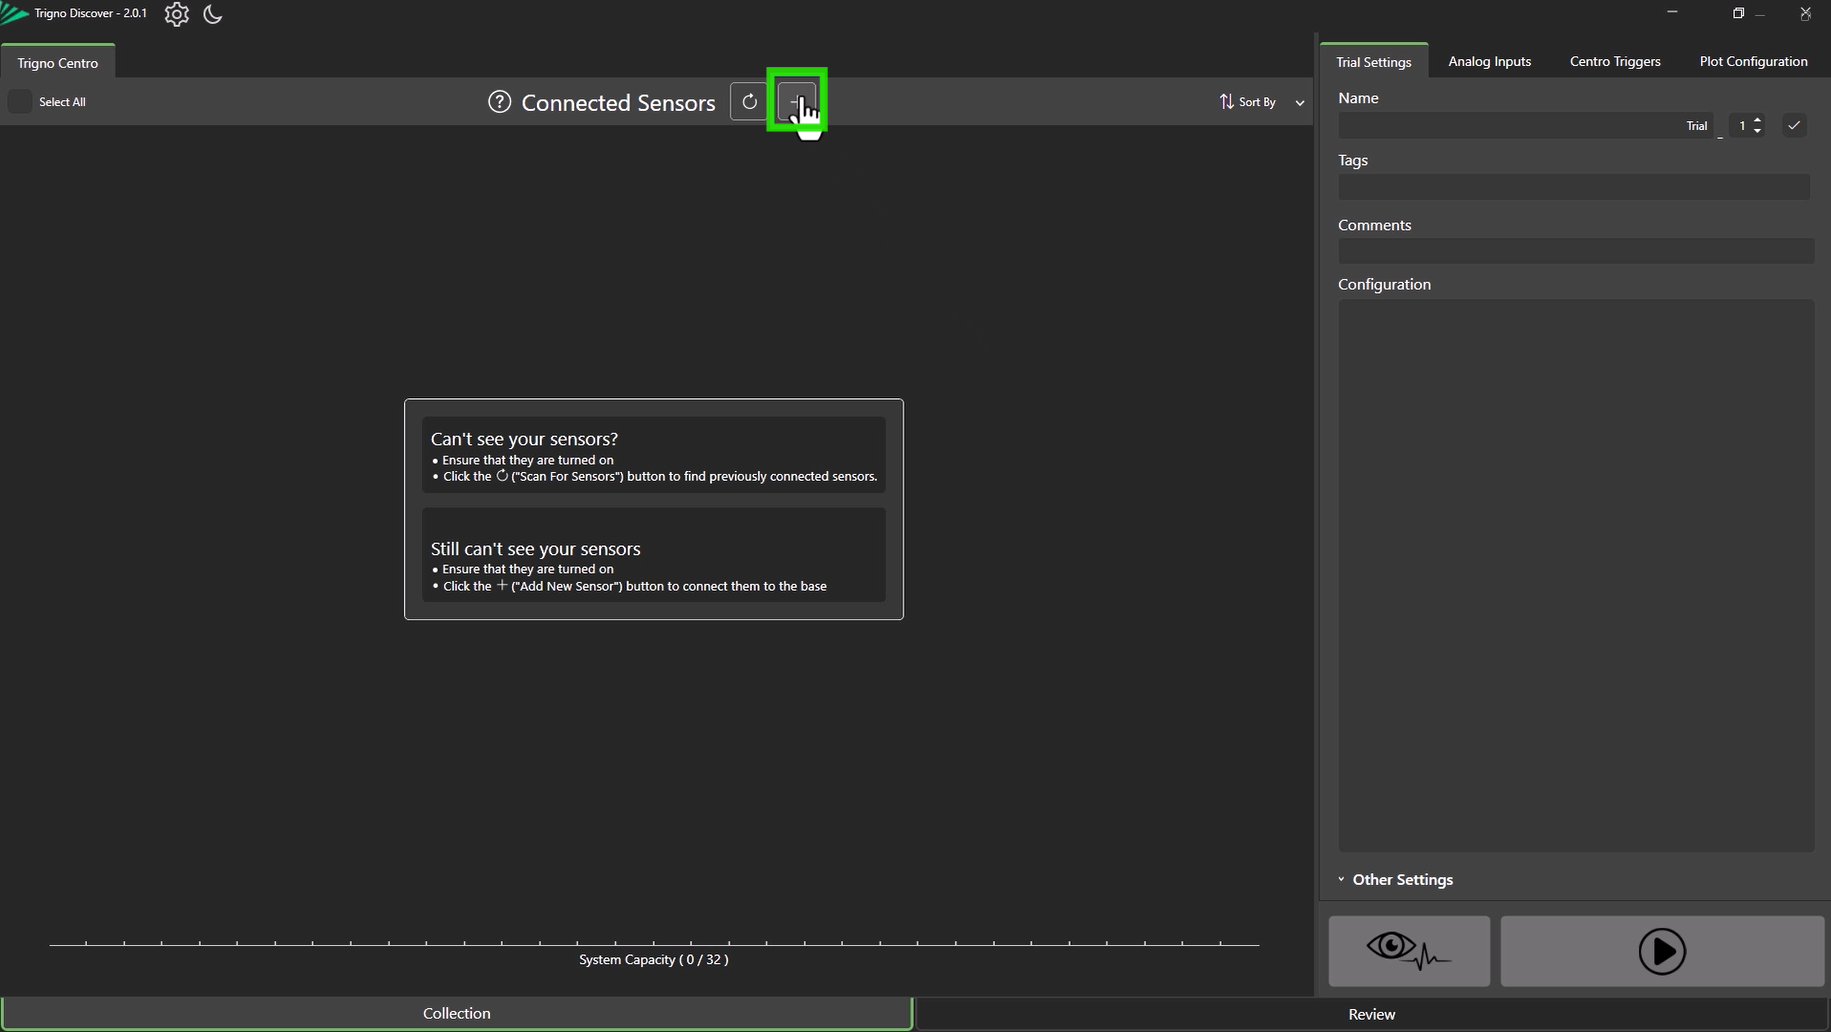
In the software, select Add Sensor
Enter the sensor number and select Add Sensor again
Pass the sensor through the magnet once more
The LED will flash orange and green, confirming successful pairing
Information
The sensor number is used to identify the sensor within the software. You can assign any available number from 1 to 99.
Information
Repeat this process for all the sensors until they are all successfully paired.
Step 3: Scanning
Once a sensor has been paired, you do not need to repeat the pairing process. Each time you open the software, it will scan for already paired sensors. You can initiate a manual scan by selecting Scan for Sensors.
Information
Sensors must be powered on and activated before they can be scanned. Sensors should flash orange/cyan indicating they are ready to be scanned.
Troubleshooting
Issue | Solution |
|---|---|
Sensor will not activate | Ensure the sensor is fully charged. Remove from the Charge Station and pass through the magnet within 6 seconds. Tip: Ensure the sensor is completely removed from the magnetic field around the Charge Station, e.g 30cm before trying to activate. This is most relevant for the sensors in the docks directly next to the magnet. |
Sensor not detected during pairing | Confirm activation first. Re-enter the sensor number and repeat the pairing process. |
Repeated pairing failures | Power Cycle the sensor in the charge station, repeat the magnet step, and try again. If issues persist, contact Delsys Support |
DOC-665-1-0
