Overview
This guide walks you through the initial setup process for the Delsys Trigno System, including powering hardware, connecting to software, pairing sensors, and preparing for EMG data collection. You will learn how to correctly power and boot the Trigno Centro unit, connect sensors to the system, and ensure reliable sensor pairing both manually and automatically. The guide also details best practices for skin preparation and sensor placement, which are critical for acquiring high-quality EMG signals. This setup is essential before beginning any trial configuration or data collection. For a visual walkthrough, please refer to the Trigno Discover video tutorials on System Configuration.
Information
This article refers to Trigno Discover version 2.0.1. Please note that the user interface may vary depending on the version you have installed. You can find your current version of Trigno Discover in the top left corner of the application window.
Trigno Discover Getting Started Video Tutorial: System Configuration
System Requirements
Material/Tool | Description |
|---|---|
Software | Trigno Discover 2.0+ |
Hardware: System | Trigno Centro; Trigno Lite; Trigno Research Base Station |
Firmware: System | Trigno Centro: 06-05-00 | 04-01 + Trigno Lite: 02-02 + Trigno Research Base Station: Digital: 2919 | 1506 | 0806 | 2008 | 0000 Analog: 2919| 1506 | 0806 | 2008| 0901 |
Hardware: Sensors | Avanti-Style Sensors |
Firmware: Sensors | Avanti-Style Sensor: 40-49 Maize Sensor: 60-29 |
Operating System | Windows 11 |
PC Specifications |
|
Step-by-Step Instructions
Step 1: Powering and Connecting the Trigno System
Powering the Hardware
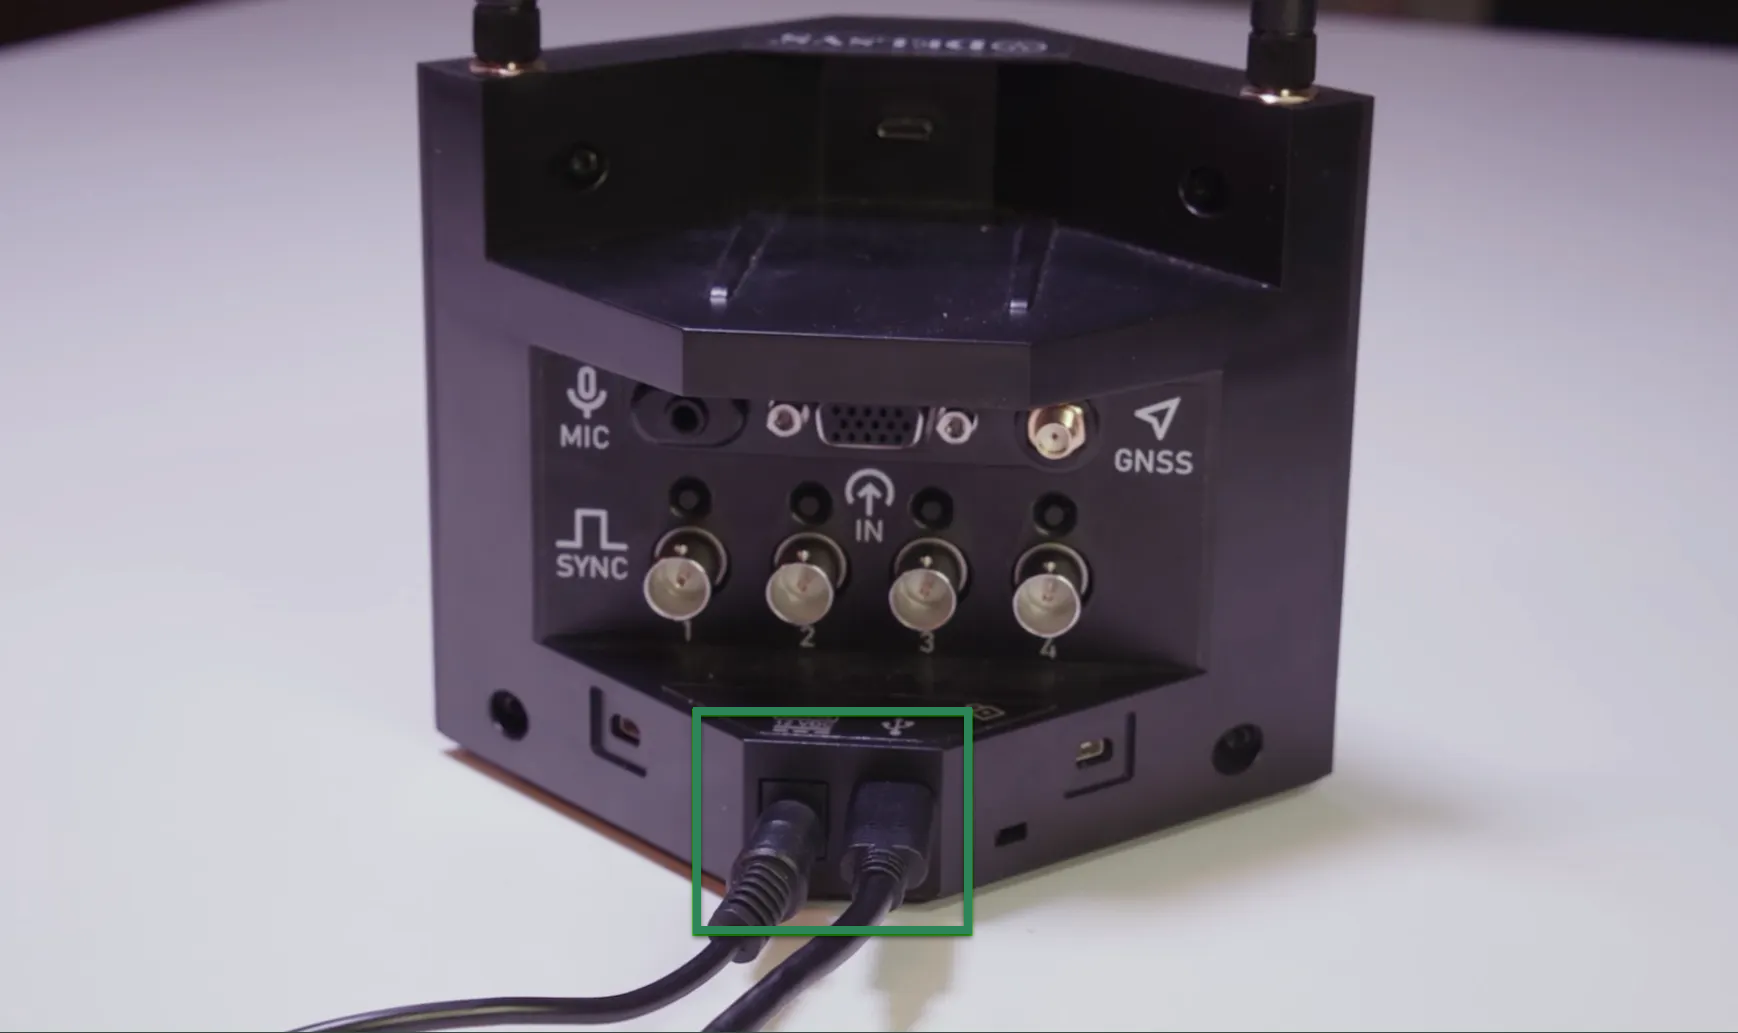
Connect the Trigno Centro unit to power using the supplied power adapter.
Connect the sensor charging station to power as well.
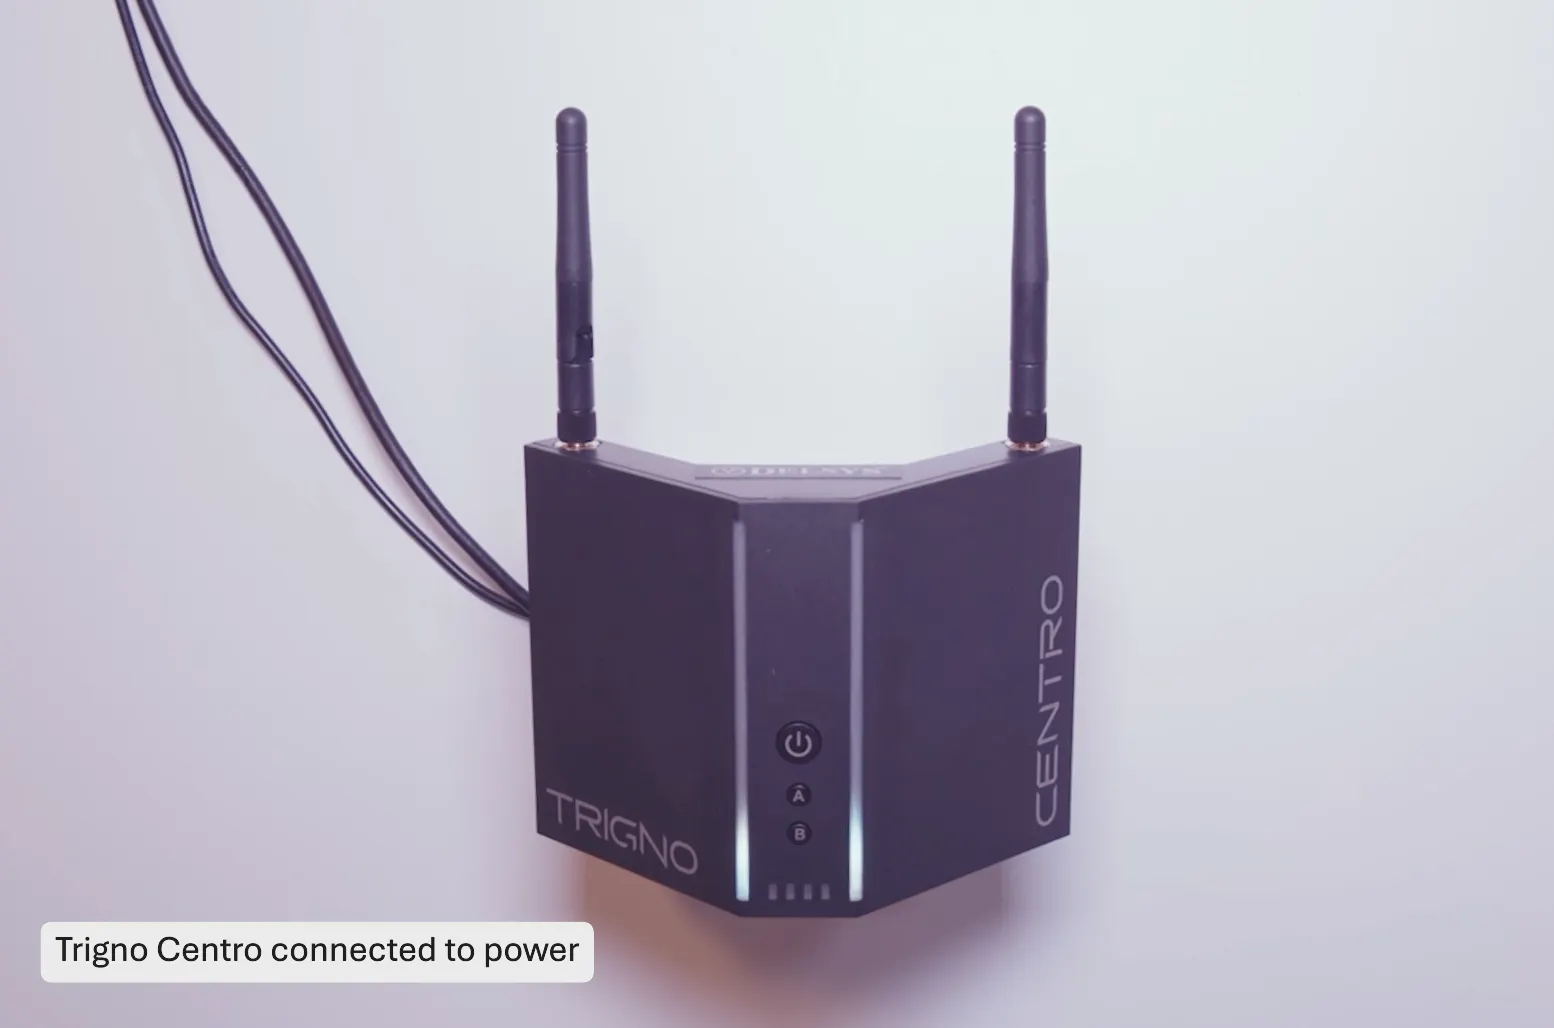
The Trigno Centro front LED will turn white when powered.
Press the power button for 3 seconds on the Centro unit to start the boot process.
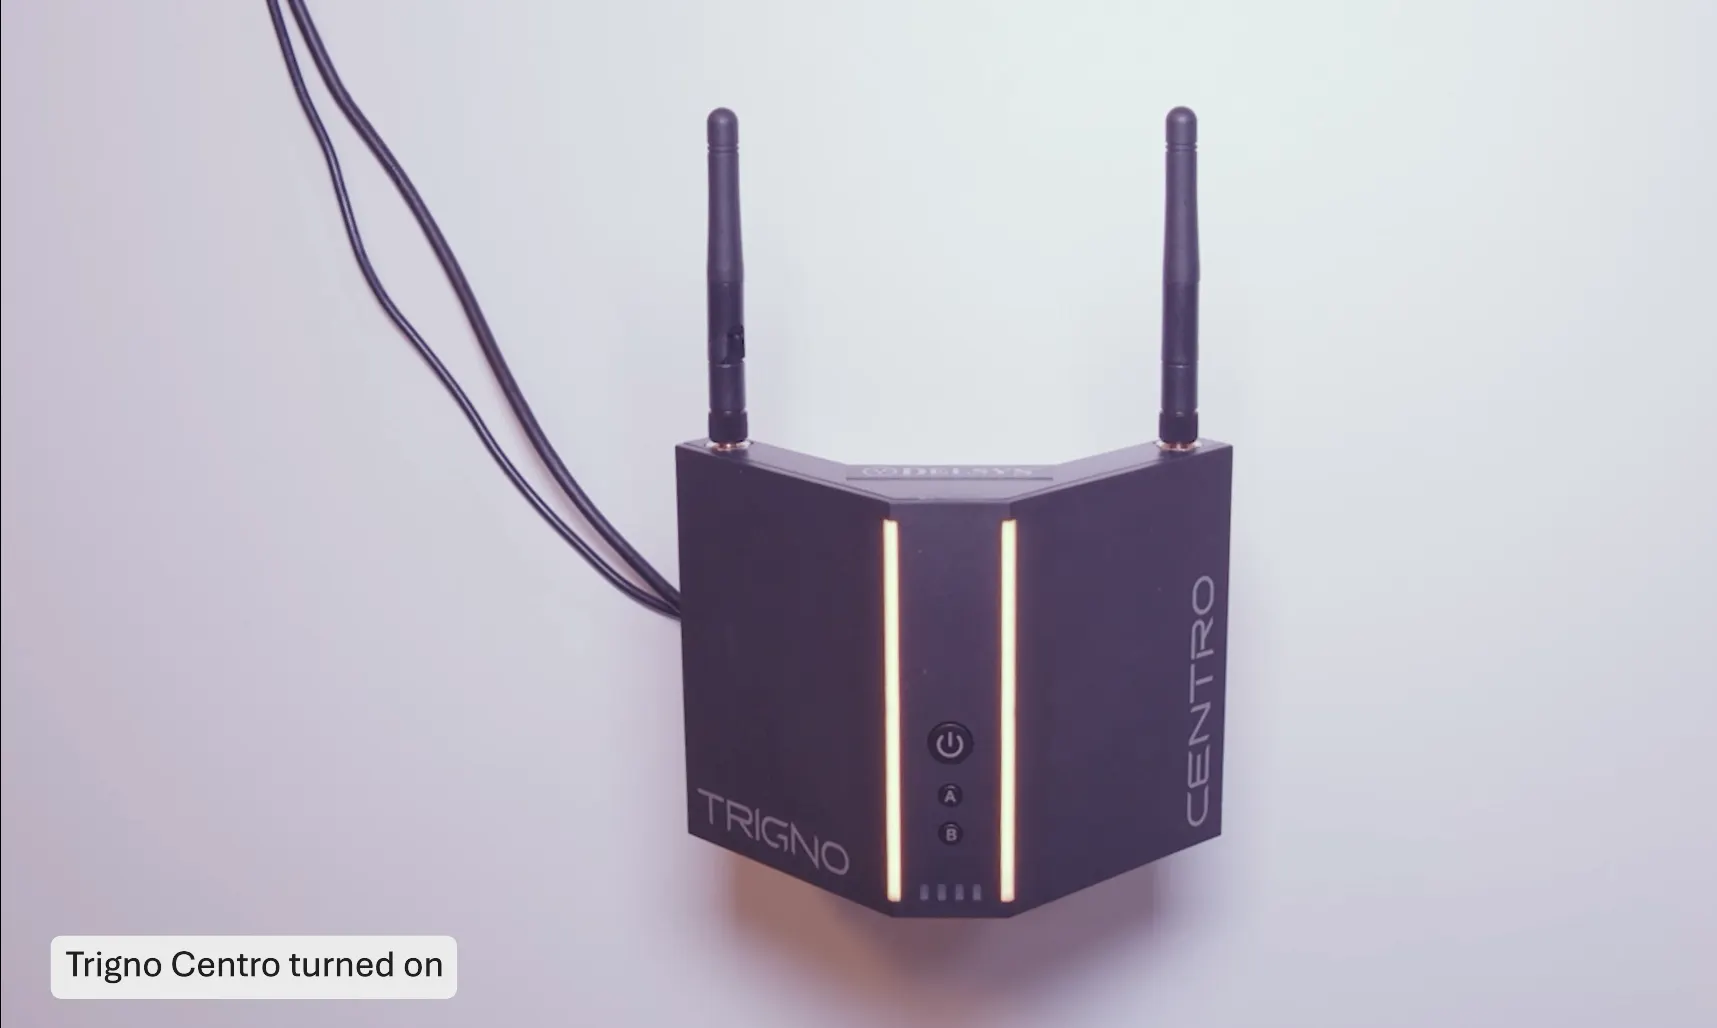
LEDs will flash orange during boot.
When booting completes, LEDs turn solid orange.
Connecting to the Computer
Connect the USB cable from the Trigno Centro unit to a Windows laptop or desktop.
Launch the Trigno Discover software after powering on.
Powering On Sensors
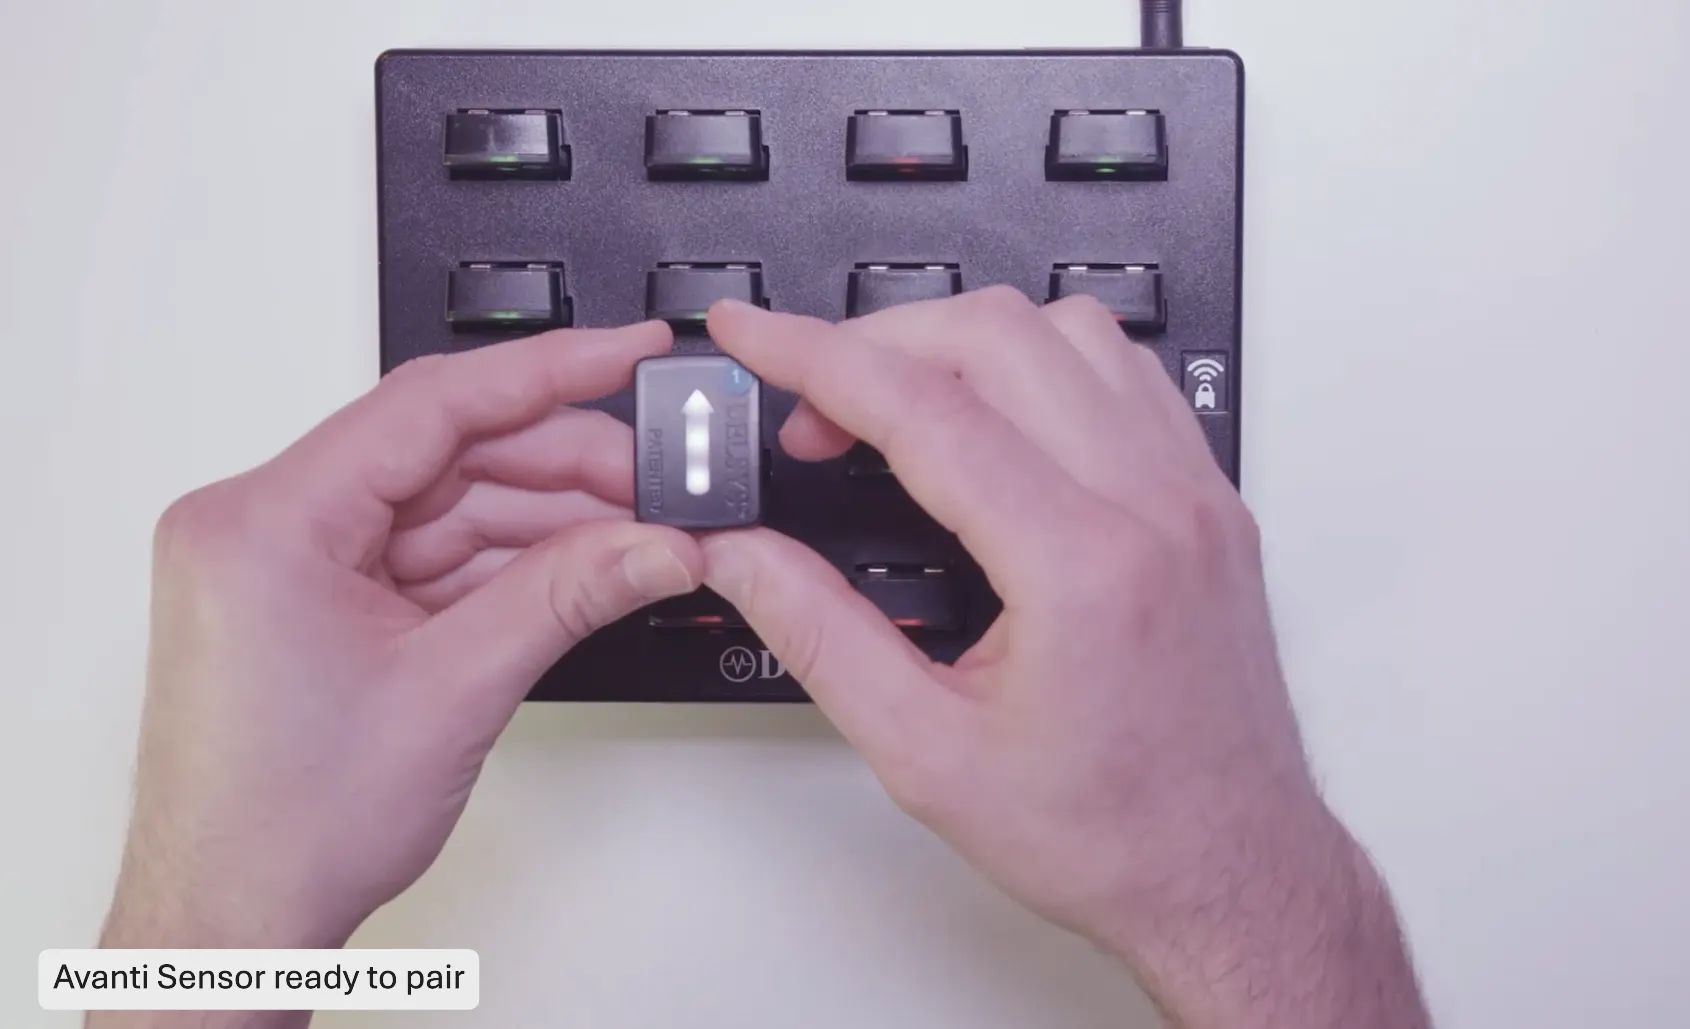
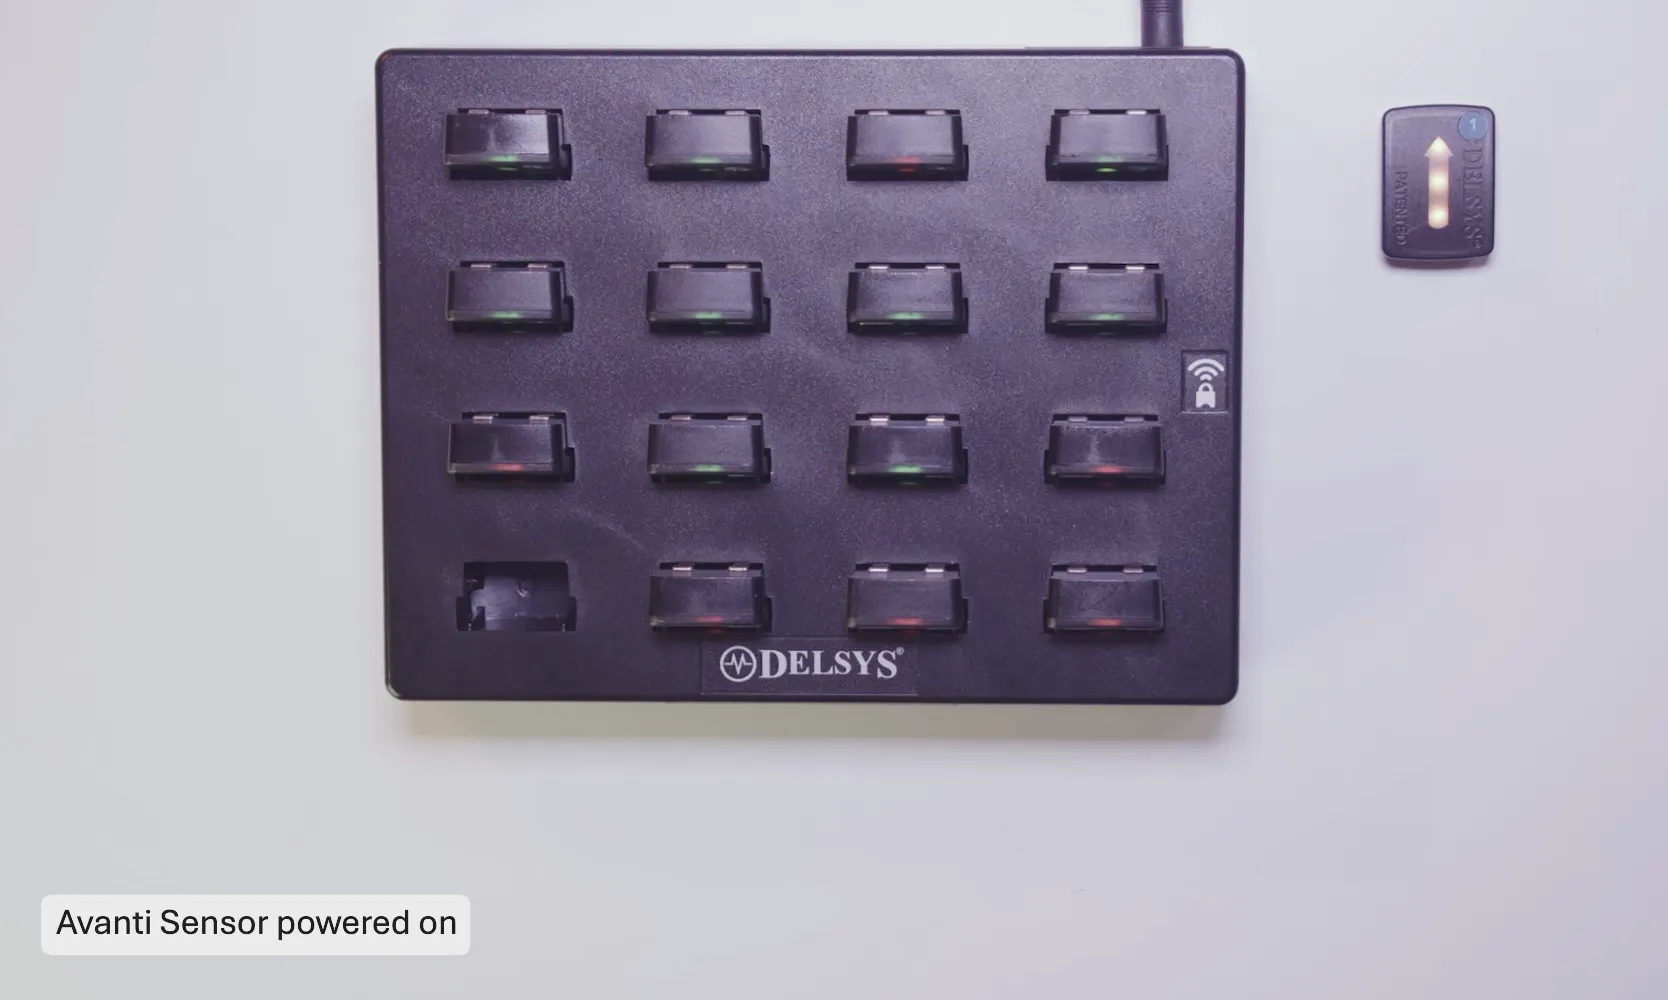
Remove Trigno Avanti-Style Sensors from the charging station.
The sensor’s LED arrow glows white, signaling readiness.
Within 6 seconds, tap and pull away the sensor from the activation magnet located on the charging station.
LED flashes orange and blue when powered on successfully.
If the sensor powers off:
Dock it for at least 3 seconds and try again.
Important
The 6-second window is necessary for sensor activation. Failure to pass the sensor through a magnetic field within this time will cause the device to power off and require re-docking before another attempt can be made.
Step 2: Pairing Sensors
Pairing new sensors manually
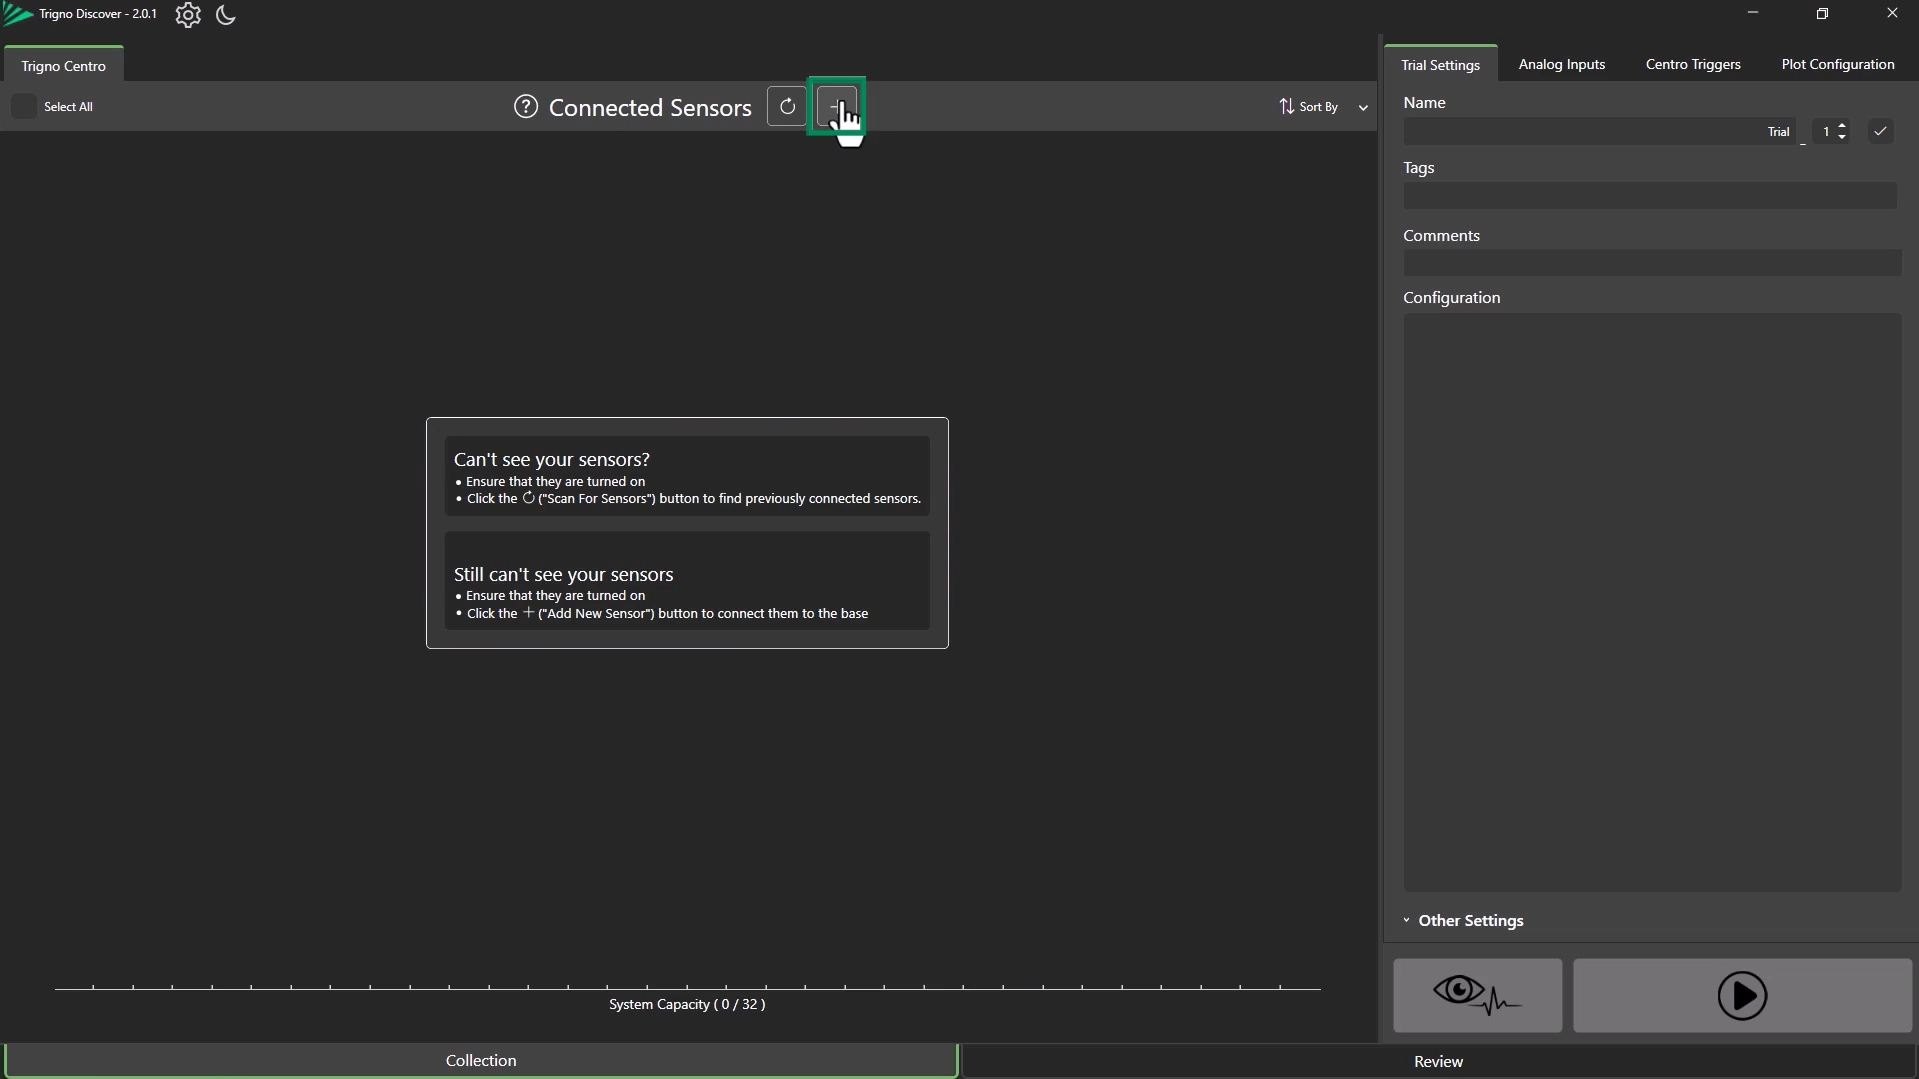
After turning on the sensor, click the Add Sensor button in Trigno Discover.
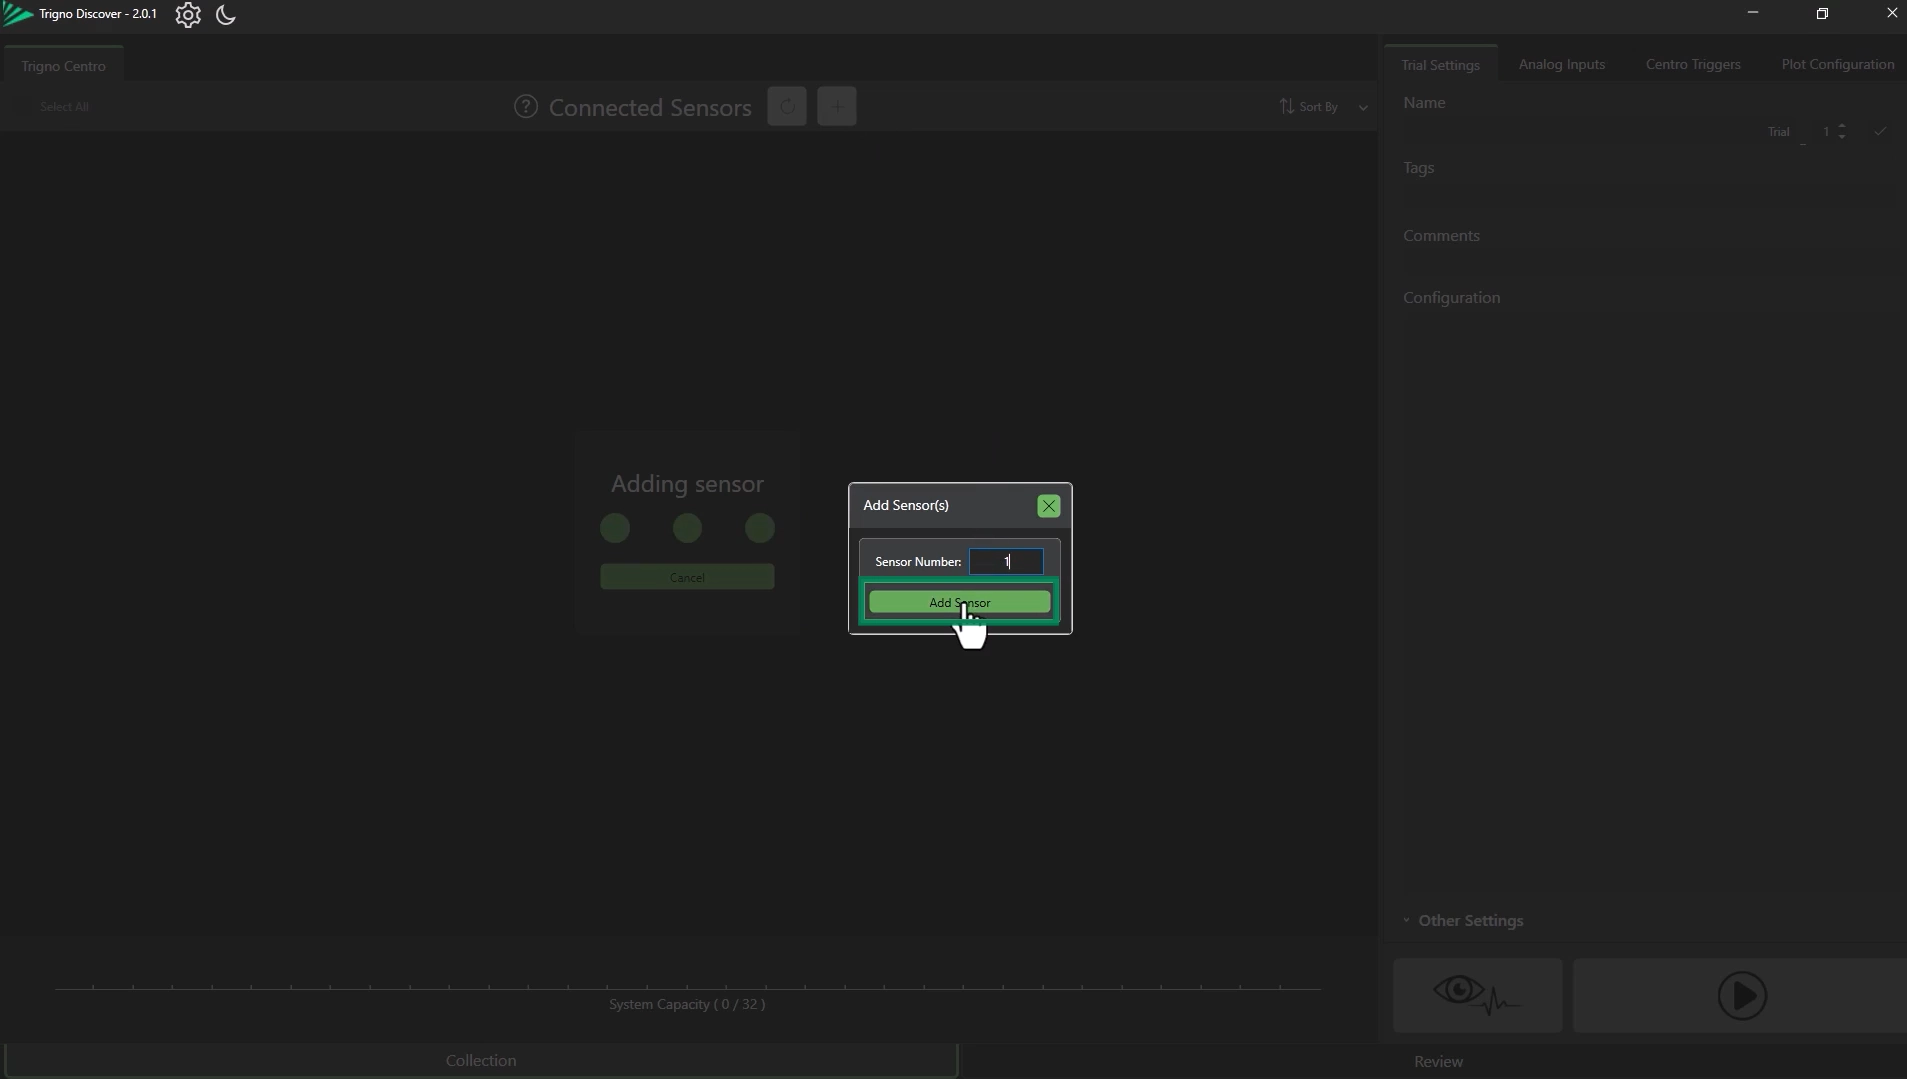
Enter a sensor number. This number is used to identify the sensor within the software and can be any available number from 1 to 99.
Click Add Sensor on the sensor sticker number window.
Tap the sensor against the magnet to activate.
The sensor will flash orange and green to confirm pairing.
The sensor appears in the Connected Sensors list.
Repeat to add more sensors or exit to finish.
Information
Scanning sensors is used to re-pair sensors that were previously added via the “Add Sensor” icon.
Adding previously paired sensors
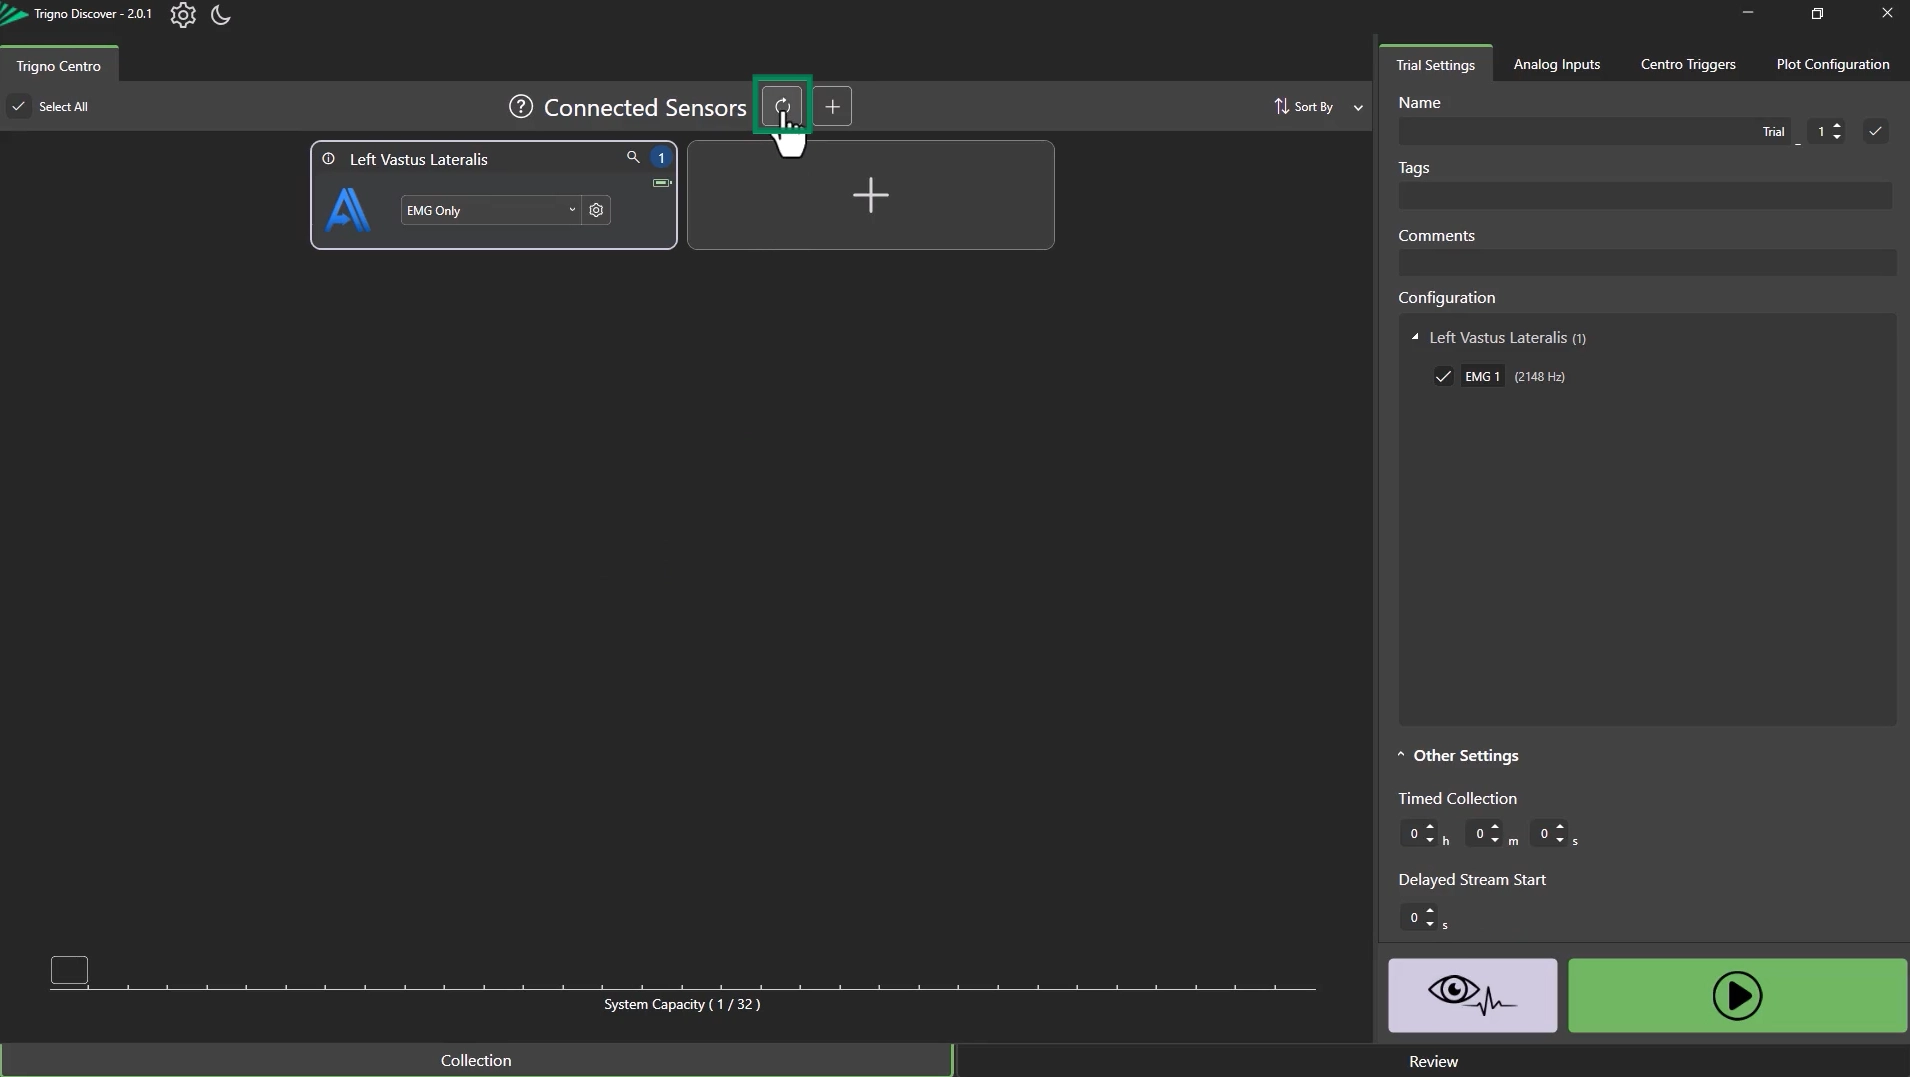
After turning on the sensor (the sensor LED will flash orange and blue), click “Scan for Sensors” to automatically detect and add previously paired sensors.
Sensors found will be added to the connected list.
If no sensors appear after scanning:
A message will notify you.
Manually add sensors following step 1.
Information
Manual addition, via the “Add New Sensor” button, is required if automatic scanning finds no sensors.
Step 3: Preparing the Skin and Attaching Sensors
Required Materials
Trigno sensor adhesive
Alcohol wipes
Razor (optional, for hair removal)
Medical tape or exfoliant (optional, used to remove dead skin)
Skin Preparation
Select the muscle belly where the sensor will be placed.
Remove excess hair with a razor if needed for better adhesion.
Abrade the skin area for any dead skin cells with either an exfoliant or medical tape.
Clean the area thoroughly with an alcohol wipe to remove oils and dirt.
Applying Sensors
Apply adhesive to the sensor base.
Firmly place the sensor on the cleaned skin.
Align the sensor’s LED arrow parallel to muscle fibers for accurate signal acquisition.
Information
Proper skin prep ensures signal quality.
All three steps of skin preparation are recommended; however, wiping the area with an alcohol wipe is always required.
Sensors that are not positioned over the muscle belly may reduce data accuracy.
For more information on Trigno Discover, please refer to the next article in the Trigno Discover Getting Started Series: Trigno Discover: Trial Set-Up.
DOC-669-1-0

